Why Recording Direct-to-Camera Is a podcast Post-Production Nightmare (And How to Avoid It)
Picture this: You've just recorded a brilliant 60-minute podcast interview. Three cameras captured every angle. The audio sounds crisp. Everyone's buzzing about the conversation.
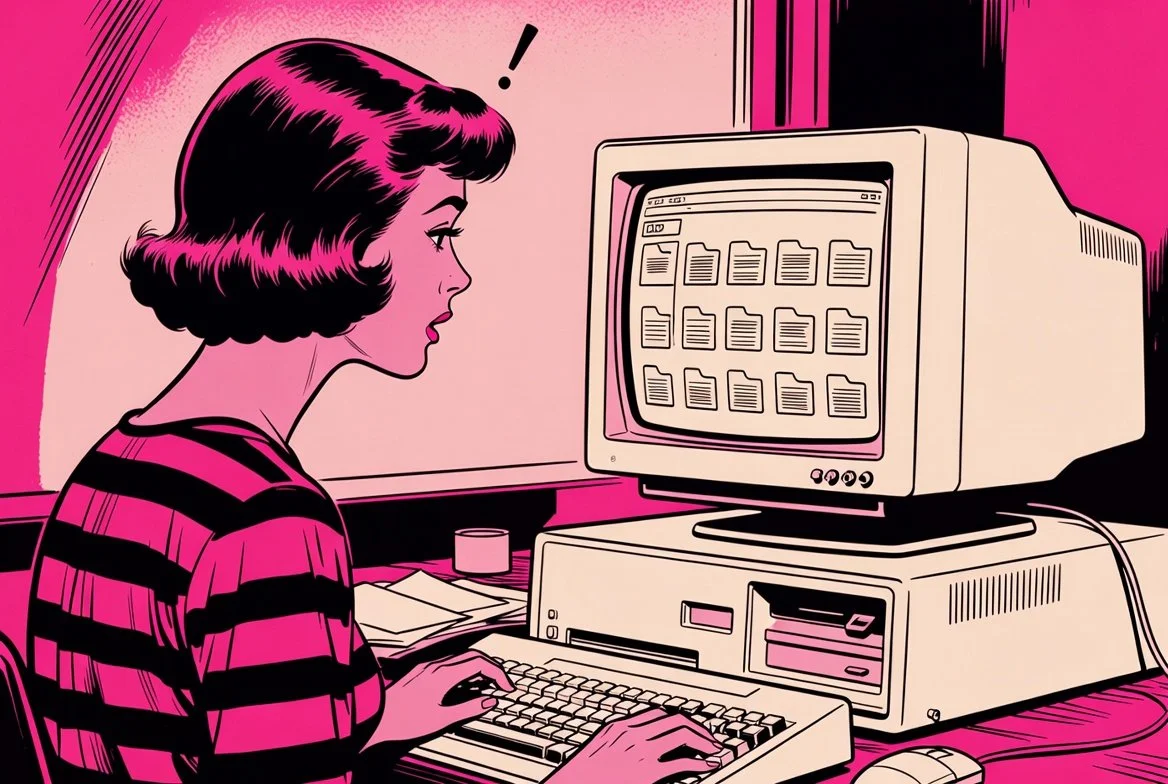
Then you sit down to edit.
Camera 1's file starts at 00:00:03. Camera 2 starts at 00:00:07. Camera 3's timecode is completely different because someone pressed record late. The audio file from your mixer is a separate entity altogether. Now you're spending three hours just trying to sync everything up before you can even start editing.
Welcome to the direct-to-camera nightmare that most "multi-camera" studios don't warn you about.
Let's talk about why recording directly into cameras (instead of through a proper video switcher) creates a post-production headache, and why it matters for your final product.
The Direct-to-Camera Setup (And Why Studios Use It)
Here's how most budget multi-camera studios operate:
The setup:
2-3 Sony, Canon, or Panasonic mirrorless cameras on tripods
Each camera records to its own SD card
Separate audio recorder (Zoom H6, Rodecaster, or similar)
No video switcher connecting the cameras
Why studios do this:
It's cheaper (no switcher needed, saving £400-1,500)
Simpler to set up (just hit record on each camera)
Requires less technical knowledge to operate
Cameras can be positioned anywhere without cable runs
Sounds reasonable, right? Press record on three cameras, press record on the audio, and you're done.
The problem nobody mentions: You now have four completely separate files that need to be manually synced in post-production. And that's where things get messy.
The Post-Production Sync Nightmare
When each camera records independently, you end up with:
Camera 1:
CAM1_0001.MP4(starts at 14:32:18)Camera 2:
CAM2_0001.MP4(starts at 14:32:21)Camera 3:
CAM3_0001.MP4(starts at 14:32:25)Audio recorder:
PODCAST_EP42.WAV(starts at 14:32:15)
Notice the problem? Every file has a different start time because you pressed record on each device separately. Even if you tried to press them all simultaneously, you're talking about human reaction time creating 2-7 second differences between files.
Step 1: Import Hell
You need to:
Remove SD cards from three different cameras
Copy files from each card to your computer (10-15 minutes per camera for 4K footage)
Import all files into your editing software
Import the separate audio file
Create a multicam sequence
This alone takes 30-45 minutes before you've made a single edit.
Step 2: Manual Sync Torture
Now you need to sync everything. Your options:
Option A: Audio waveform matching
Most editing software can auto-sync using audio waveforms
Works... sometimes
Fails completely if cameras were recording at slightly different sample rates
Fails if someone coughed or made noise while you were pressing record
Requires clean audio recorded on each camera (many cameras have mediocre built-in mics)
Option B: Clapper board / manual sync
Remember seeing film sets where someone claps a board? That's why
You need a visual and audio "marker" to sync to
Clap your hands at the start of recording, then manually line up the clap in all four files
Works reliably but adds 10-15 minutes to every recording
Option C: Timecode generators
Professional solution: external timecode boxes that sync all devices
Costs £300-800 for the equipment
Still requires setup time and technical knowledge
If your studio doesn't have this, you're back to Option A or B
Even with perfect syncing, you're looking at 20-30 minutes of work just to get to the point where you can start editing.
Step 3: Drift Issues
Here's the sneaky problem: even if you sync everything perfectly at the start, cameras can drift out of sync over long recordings.
If Camera 1 records at 23.976fps and Camera 2 records at 24.000fps (a tiny difference), after 60 minutes they'll be noticeably out of sync. The audio might drift slightly because the camera's internal clock isn't perfectly matched to your audio recorder.
Result? You need to re-sync multiple times throughout the edit, checking and adjusting as you go. What should take 2 hours of editing becomes 4 hours because you're constantly fighting sync issues.
The Atem Mini Problem (Live Switching Without ISO)
Some studios have upgraded from direct-to-camera and invested in an Atem Mini (the non-ISO version). This is better than nothing, but it creates its own limitations.
What the Atem Mini does:
Connects multiple cameras via HDMI
Lets you switch between camera angles live during recording
Records a single "program output" file with your camera switches baked in
The advantage:
Everything's synced (cameras and audio go through the switcher)
One file to edit instead of multiple files to sync
No post-production sync headaches
The massive limitation:
Your camera switches are permanent
Missed a great reaction? Tough. You were on the wrong camera.
Want to re-cut the episode differently? Can't. The cuts are baked in.
Need a 90-second highlight clip? You're stuck with whatever angles you chose during recording.
If you were switching cameras and, for example, your guest wasn't ready or you weren't perfectly in frame, you can go back and correct it later Detail (https://detail.co/blog/what-is-iso-recording) — but only if you're recording ISO files. The basic Atem Mini doesn't do this.
Real-world scenario:
Your guest tells a hilarious story. During recording, you were on the wide shot showing both people. In post-production, you realise the guest's facial expression during the punchline would make a perfect Instagram clip — but you were on the wide shot, not the guest close-up.
With an Atem Mini (no ISO): You're stuck with the wide shot. That's what you recorded.
With an Atem Mini Extreme ISO: You switch to the guest close-up in post, because you have all three camera angles for the entire recording.
This is the difference between "we recorded it" and "we can actually use it."
The Podcast Studio Glasgow Solution: Atem Mini Extreme ISO + Rodecaster Video
At PSG, we specifically chose equipment that eliminates every single problem mentioned above.
Our setup:
3x Blackmagic Pocket Cinema Camera 6K (colour-matched, same settings across all three)
Atem Mini Extreme ISO (video switcher with ISO recording capability)
Rodecaster Video (audio/video integrated recorder)
Everything connected via SDI/HDMI (no separate SD cards, no sync issues)
Here's what this means in practice:
During recording:
We press record once on the Rodecaster Video
All three cameras start recording simultaneously (via the switcher)
Audio from four Rode Procaster mics feeds directly into the system
We live-switch cameras during recording (you see a rough cut on the monitor)
Everything is automatically synced — cameras to audio, frame-perfect
After recording:
One button press stops everything simultaneously
Files are saved to the Rodecaster Video's internal storage
You get:
The live-switched "program" file (what we cut during recording)
Separate ISO files from all three cameras (full footage from each angle)
Four separate audio tracks (one per microphone)
All files perfectly synced with matching timecode
In post-production:
Zero time spent syncing files (it's already done)
Full access to every camera angle for the entire recording
Ability to re-cut any moment using any camera
Separate audio tracks per person (fix one person's audio without affecting others)
Create multiple versions from the same recording (full episode + social clips)
The ISO model actually has the ability to record all of the camera inputs separately in addition to your live feed or program feed Riverside (https://riverside.com/university-videos/using-a-video-switcher-for-remote-recording).
Direct-to-Camera vs Atem Mini vs Atem ISO: Comparison Table
| Setup Type | Sync Method | Post-Production Time | Editing Flexibility | Major Drawbacks |
|---|---|---|---|---|
| Direct-to-Camera (Sony/Canon/Panasonic recording to SD cards) |
Manual sync in post-production (waveform or clapper board) | 30-45 min setup + ongoing sync checks | Full flexibility (if you can get it synced) | Sync nightmare, drift issues, file management hell, 3+ hours extra editing time per episode |
| Atem Mini (Non-ISO) (Live switching, single output) |
Automatic (everything through switcher) | Minimal setup, immediate editing | Zero (cuts are permanent) | Can't fix mistakes, can't change cuts, missed reactions stay missed, limited social clip options |
| Atem Mini Extreme ISO + Rodecaster Video (PSG setup) |
Automatic (perfectly synced timecode) | Zero setup, immediate editing | Complete (re-cut any moment with any angle) | Higher equipment cost (which the studio absorbs, not you) |
Why Colour-Matched Cameras Matter
Here's another subtle issue with direct-to-camera setups: most studios use whatever cameras they can afford, which often means mixing brands or models.
Common mismatched scenarios:
Camera 1: Sony A7 III (Sony colour science)
Camera 2: Canon R6 (Canon colour science)
Camera 3: Panasonic GH5 (Panasonic colour science)
Each brand processes colour differently. Sony tends toward cooler/magenta tones. Canon skews warmer. Panasonic sits somewhere in between.
The result: When you cut between cameras, skin tones shift. The guest looks slightly pink on Camera 1, slightly orange on Camera 2, and slightly green on Camera 3.
Professional colourists can fix this, but it adds another 1-2 hours of work per episode (ideally, you'd need the ISO files, and you’d be recutting the entire recording). Or you skip colour correction, and your video looks inconsistent, which viewers notice, even if they can't articulate why it feels "off."
At PSG, all three cameras are Blackmagic Pocket Cinema Camera 6Ks. Same sensor, same colour science, same settings. Cut between any angles, and skin tones stay consistent. No colour correction needed beyond basic grading.
Real-World Time Comparison
Let's break down actual editing time for a 45-minute podcast episode:
Direct-to-Camera Setup:
Remove SD cards and import files: 30 minutes
Manual sync in editing software: 20 minutes
Check sync at 3-4 points during edit: 15 minutes
Colour match cameras: 60 minutes
Edit episode and create cuts: 2 hours
Export and render: 30 minutes
Total: 4 hours 35 minutes
Atem Mini (Non-ISO):
Import single file: 5 minutes
Edit episode (limited to existing cuts): 1.5 hours
Export and render: 30 minutes
Realise you missed a great moment and can't fix it: priceless
Total: 2 hours 5 minutes (but with no flexibility)
Atem Mini Extreme ISO (PSG Setup):
Import files (already synced): 5 minutes
Edit episode with full angle options: 2 hours
Create social media clips from ISO files: 20 minutes
Export and render: 30 minutes
Total: 2 hours 55 minutes (with complete creative control)
The PSG setup saves 1.5+ hours per episode compared to direct-to-camera and offers more creative options than the basic Atem Mini.
For a weekly podcast, that's 6+ hours saved per month. For a studio recording, multiple clients? That's 20-40 hours saved monthly.
What This Means for Your Podcast
If you record at a direct-to-camera studio:
Expect slower turnaround times (they need extra hours for sync)
Higher editing costs (more time = more money)
Potential sync issues that never quite get fixed
Colour inconsistencies between camera angles
If you record at an Atem Mini studio (non-ISO):
Faster turnaround (less post-production)
Lower editing costs
But you're stuck with whatever camera choices were made during recording
Missed moments stay missed
Limited options for repurposing content
If you record at Podcast Studio Glasgow:
Fast turnaround (minimal post-production setup)
Complete editing flexibility (re-cut any moment)
Colour-matched footage across all angles
Separate audio tracks per person for mixing flexibility
Multiple versions from one recording (full episode + social clips)
The Bottom Line
Recording directly into cameras creates a sync nightmare that adds hours to every edit. Using an Atem Mini (non-ISO) solves the sync problem but locks in your camera choices permanently.
The professional solution is an Atem Mini Extreme ISO + integrated audio/video recording system that provides automatic sync, separate ISO files for each camera, and complete post-production flexibility.
At Podcast Studio Glasgow, we invested £10,000+ in the proper setup specifically to eliminate these problems. You get cinema-quality footage, perfectly synced audio, and full creative control in post — all at £75/hour for 1-camera recording, or £250/session for multi-camera recording with the Production Partner Programme.
Your content deserves better than "we'll try to sync it in post." Book at podcaststudioglasgow.com.
Sources:
ISO recording benefits and workflow advantages Detail (https://detail.co/blog/what-is-iso-recording)
Atem ISO vs non-ISO recording capabilities Riverside (https://riverside.com/university-videos/using-a-video-switcher-for-remote-recording)
Professional studio multi-camera workflows with isolated audio Digital Studio India (https://www.digitalstudioindia.com/production/camera/recordia)
Multi-camera setup best practices and common pitfalls B&H eXplora (https://www.bhphotovideo.com/explora/video/tips-and-solutions/building-a-multi-camera-video-podcast-setup)